Follow these steps carefully, and you’ll have iFlowGo running in no time!
🔹 Step 1: Download and Prepare the Installation File
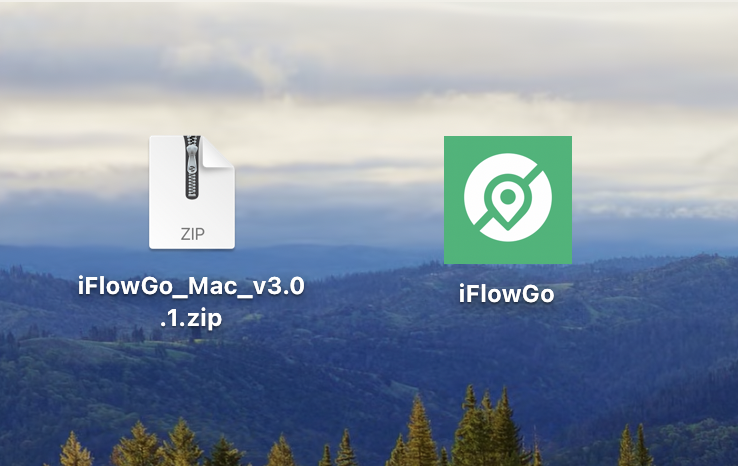
1.After downloading, move the installation file to your desktop — this makes it easier to find.
2.Double-click the ZIP file to extract it. You’ll see the iFlowGo app icon appear.
3.⚠️ Don’t open iFlowGo yet! We need to fix system permissions first, otherwise you might see a “iFlowGo” is damaged and can’t be opened… message.

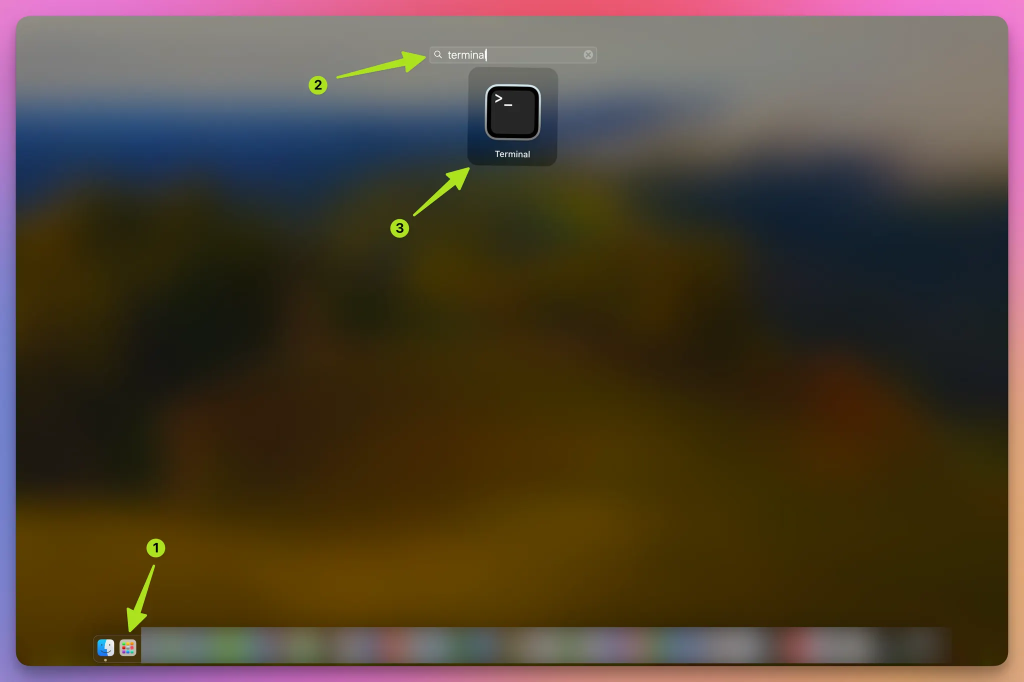
🔹 Step 2: Open the Terminal App
- On your Mac, open Launchpad (the rocket icon).
- Type Terminal in the search bar.
- Click to open it.
📸 Example:
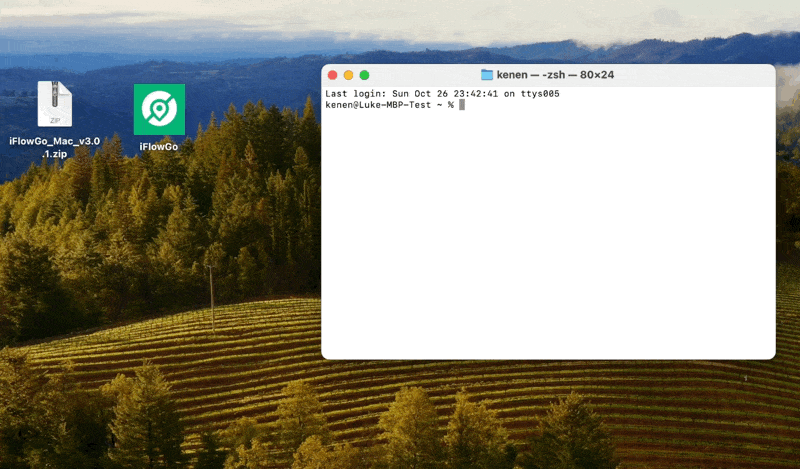
🔹 Step 3: Run the Fix Command
- In Terminal, type this command (you can copy and paste it):
xattr -cr - Then, drag and drop the “iFlowGo.app” file into the Terminal window. The file path will appear automatically after the command.
- Press Enter (Return) to run it.
🎥Also can Watch the video tutorial here:
▶️ https://www.youtube.com/watch?v=yqF0xpfJVRA
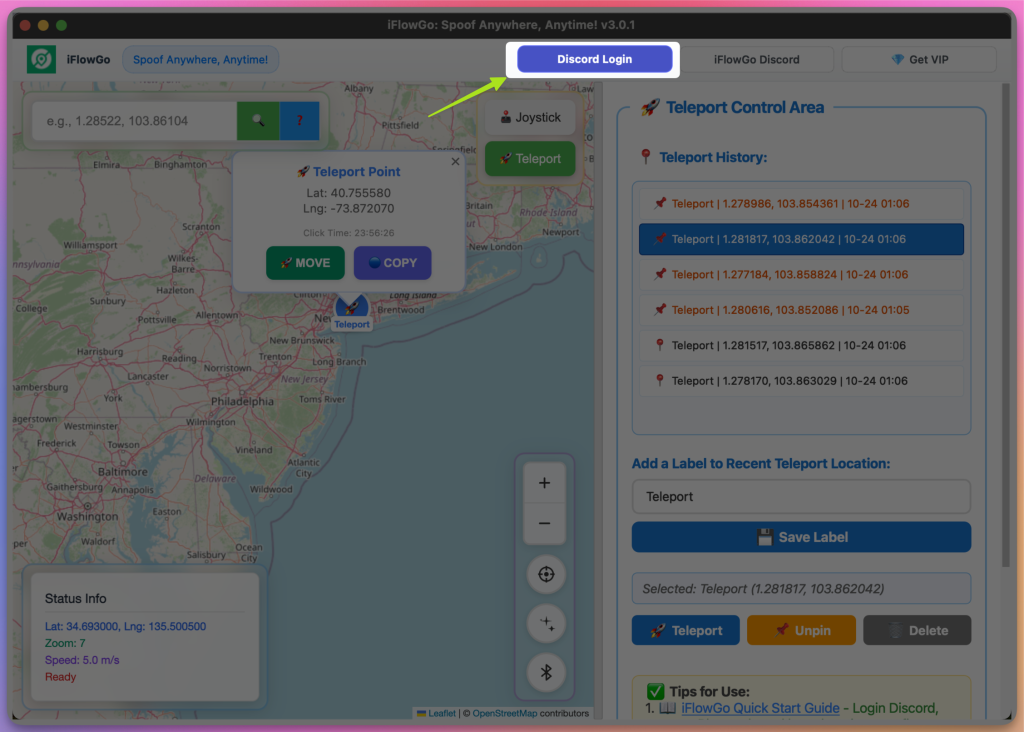
🔹 Step 4: Open iFlowGo and Log In with Discord
⚠️ Important Note: When logging in with Discord, please use the Chrome browser. If you attempt to log in with Firefox, you may encounter errors with Discord authorization. Using Chrome will ensure a smooth login experience and proper authorization.
- Now double-click iFlowGo.app to open it.
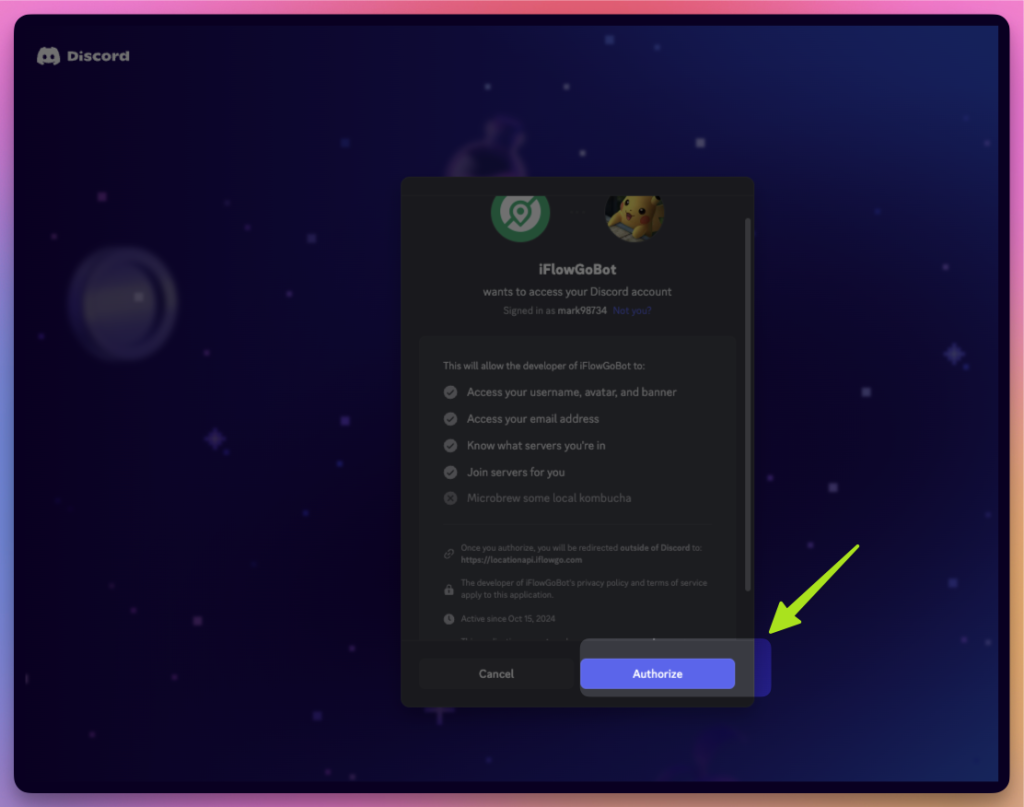
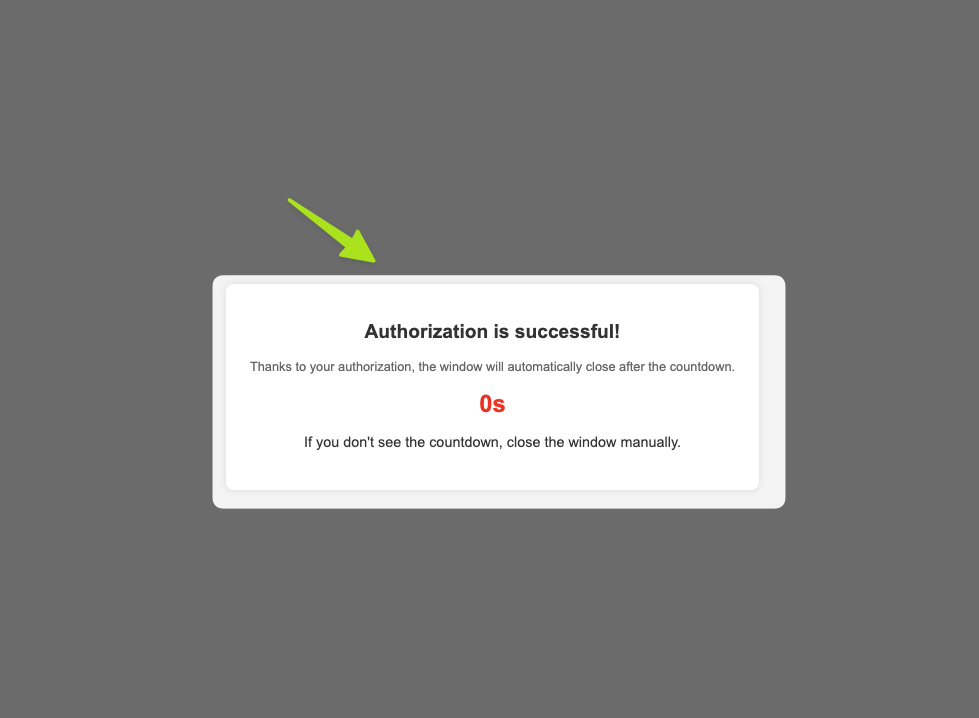
- When the login screen appears, click “Login with Discord.”
- Log in to your Discord account to verify your VIP status.
📸 Example:
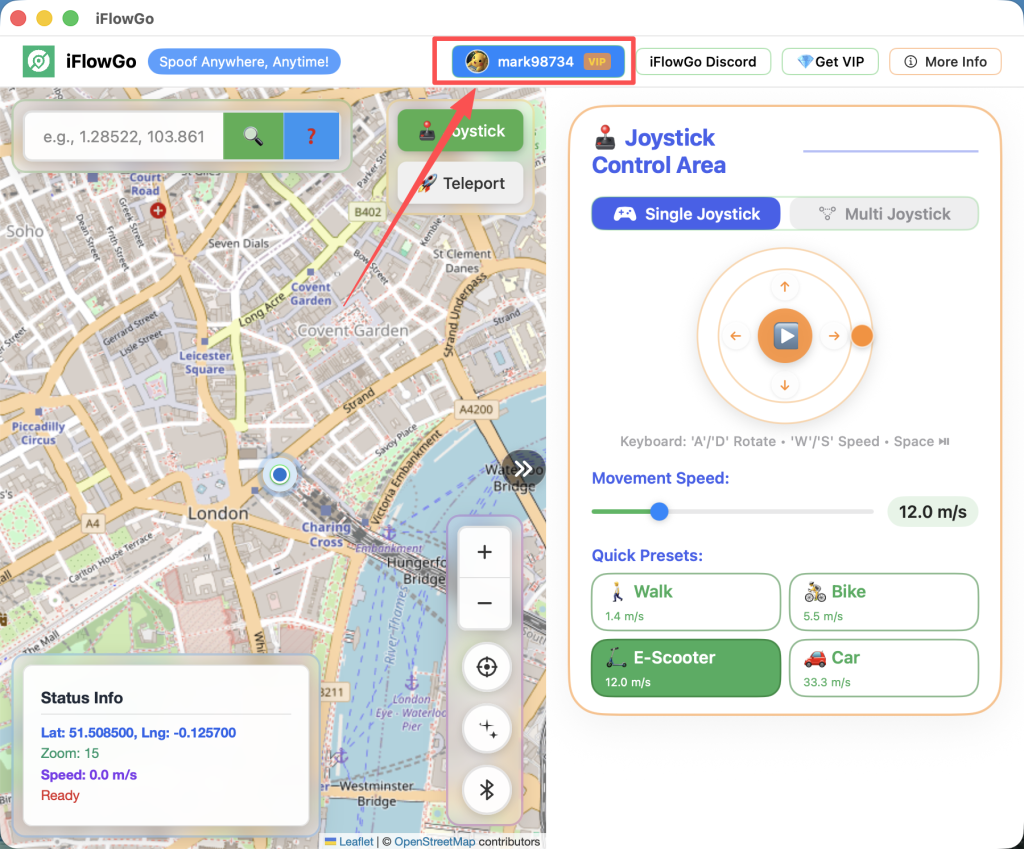
🔹 Step 5: Confirm Your Login Status
Once logged in, go back to the main screen.
You should now see your Discord username and profile picture — this means you’re verified!
📸 Example:
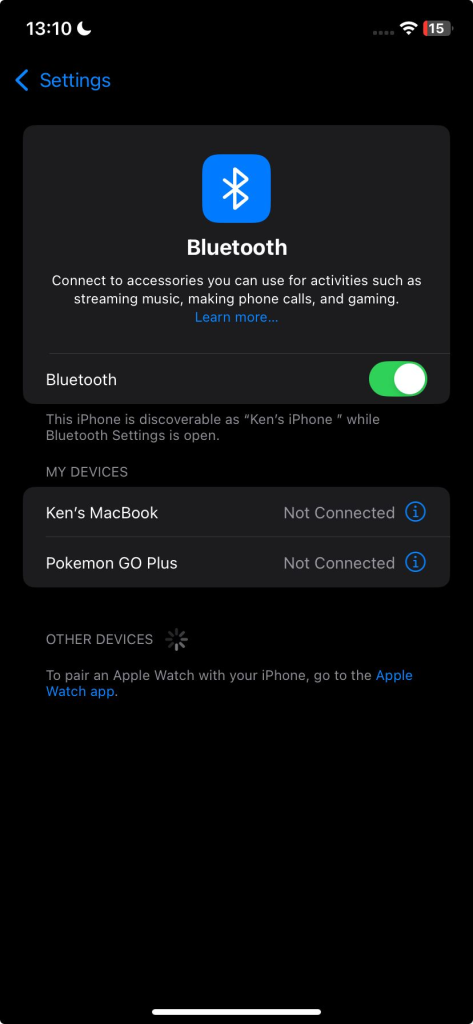
🔹 Step 6: Start the Bluetooth Connection
🔵 Important Bluetooth Pairing Tip (Mac & iPhone)
When connecting your MacBook and iPhone via Bluetooth, it’s important to make sure both devices are properly paired with each other. Bluetooth pairing must be consistent on both sides. If one device is paired while the other has already forgotten the device, the connection may fail or the iPhone may not show up at all.
✅ Recommended Fix (Strongly Suggested)
To ensure a clean and reliable Bluetooth environment, we recommend the following steps:
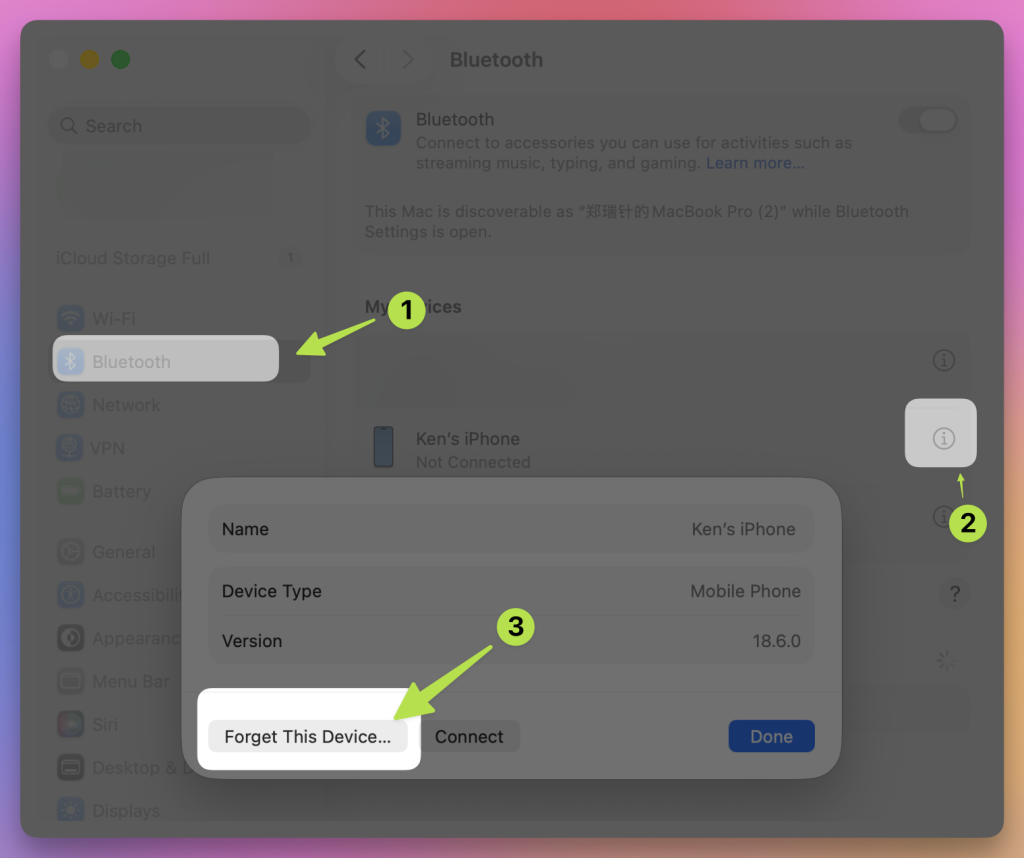
- Open Bluetooth settings on your Mac
- Find your iPhone Bluetooth
- Click the ⓘ (info) button
- Select “Forget This Device”
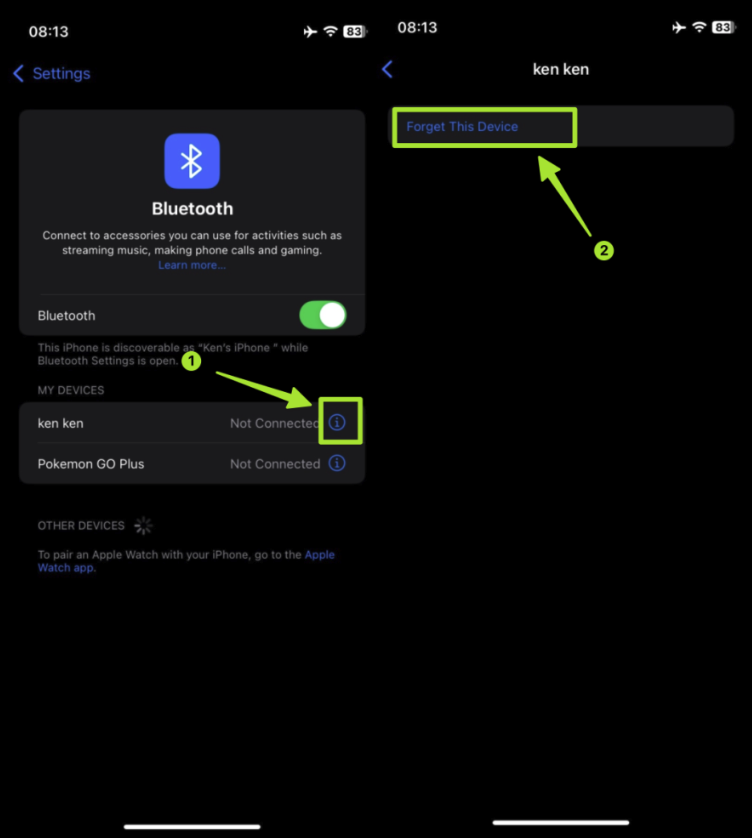
- Open Bluetooth settings on your iPhone
- Find your Mac Bluetooth
- Tap “Forget This Device”
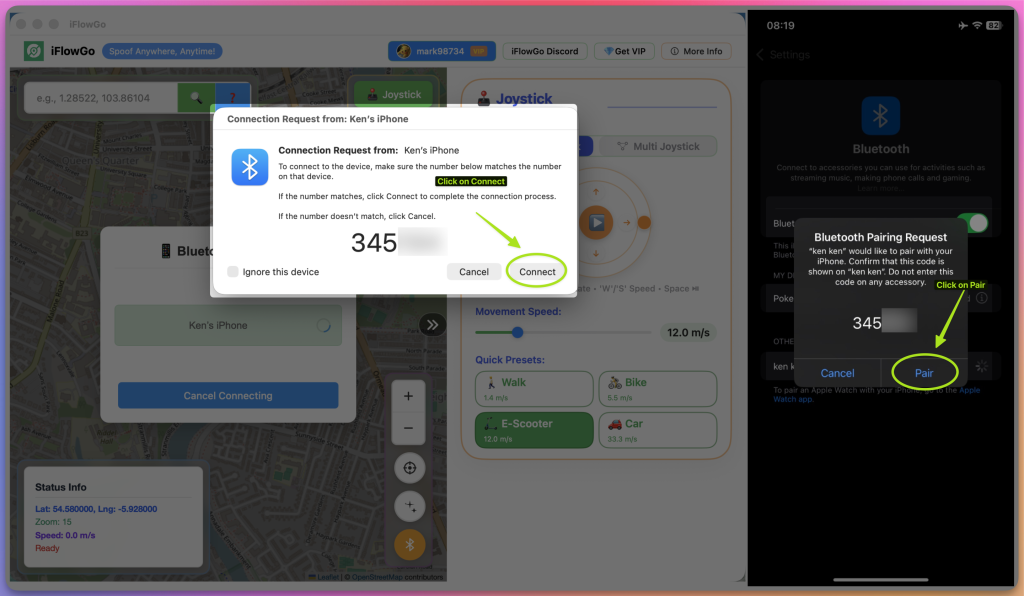
- Click the “Scan Device” button in iFlowGo.
- Make sure your iPhone Bluetooth settings page is open — this is important. ⚠️ If your iPhone isn’t on the Bluetooth settings screen, your Mac won’t detect it.
- Pair Mac Bluetooth Device to your iPhone Bluetooth.
📸 Example:

🔹 Step 7: Properly Activate Bluetooth on Your iPhone
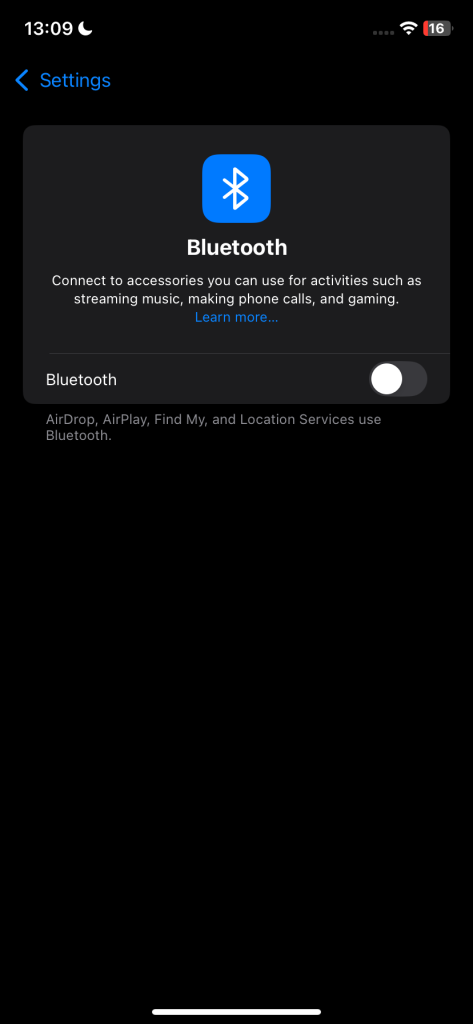
- On your iPhone, go to Settings → Bluetooth.
- Turn Bluetooth off, wait 1–5 seconds, then turn it back on.
- Your Mac’s iFlowGo app should now detect your phone.
📸 Example:
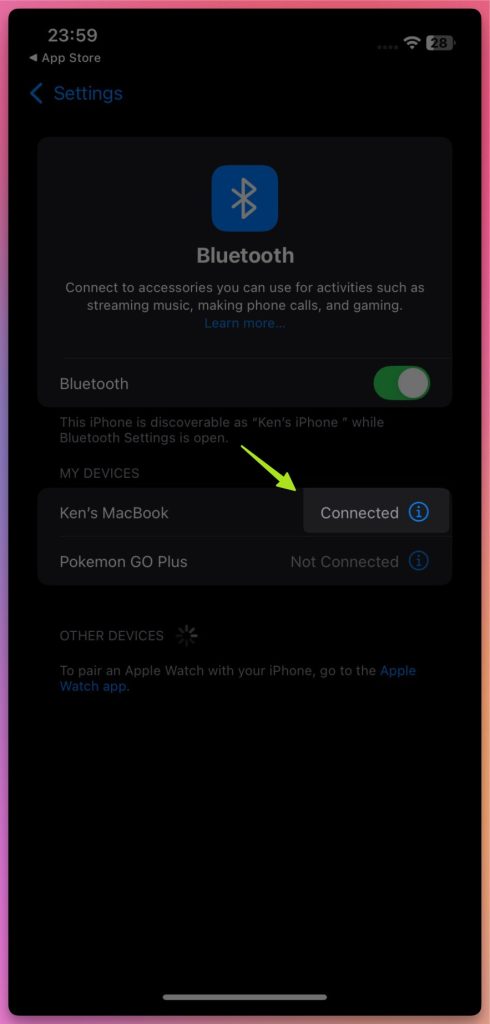
🔹 Step 8: Connect Your Device
- Once iFlowGo detects your iPhone, it will show the device name on screen.
- Click the “Connect” button next to it.
- If your phone doesn’t show up, make sure it’s still on the Bluetooth page — try turning Bluetooth off and on again, then re-scan.
📸 Example:

🔹 Step 9: Connection Successful 🎉
When you see the “✅ Connected Device” message, congratulations!
Your Mac and iPhone are now linked via Bluetooth, and you can start using iFlowGo to change your location freely.
📸 Example:

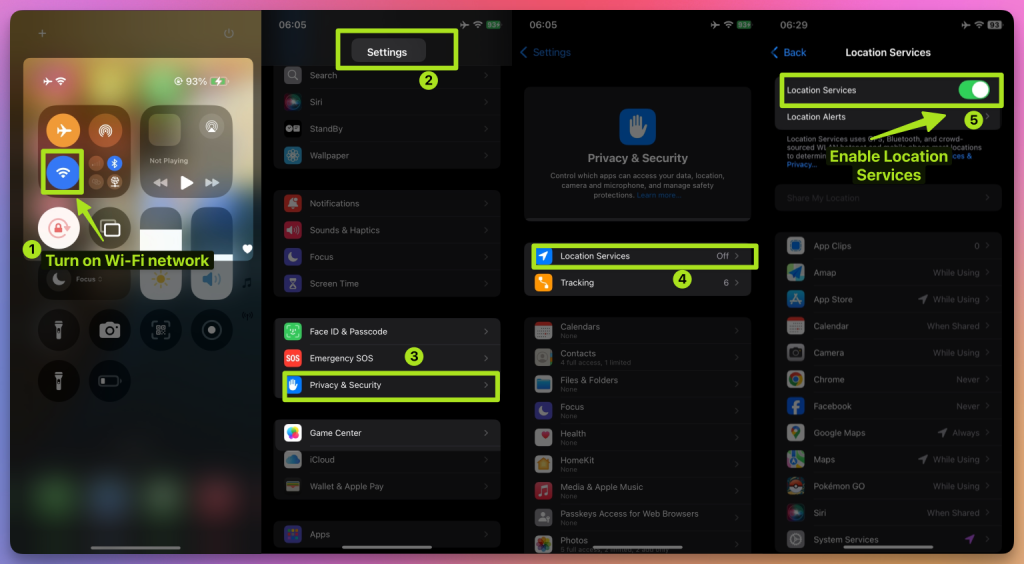
10. How to Fix the Map Not Showing Your Location
If the map doesn’t display your position:
- Make sure Airplane Mode stays on and iPhone cellular data is turned off.
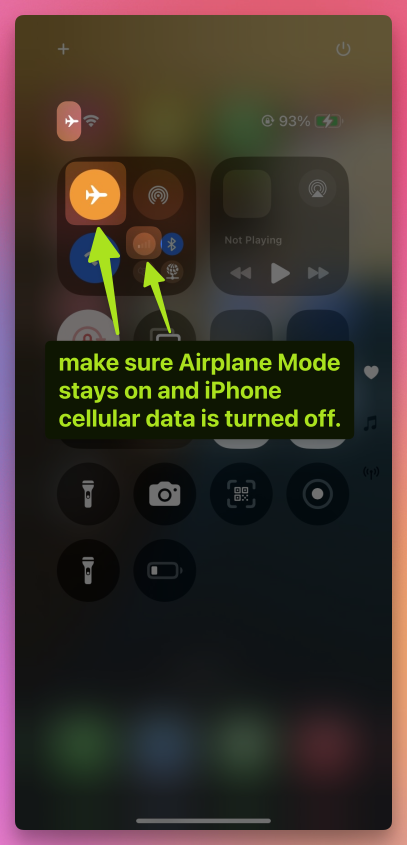
- Keep the Bluetooth connection active 🔗.
- Turn off Wi-Fi 📡, and Location Services 📍 on your iPhone
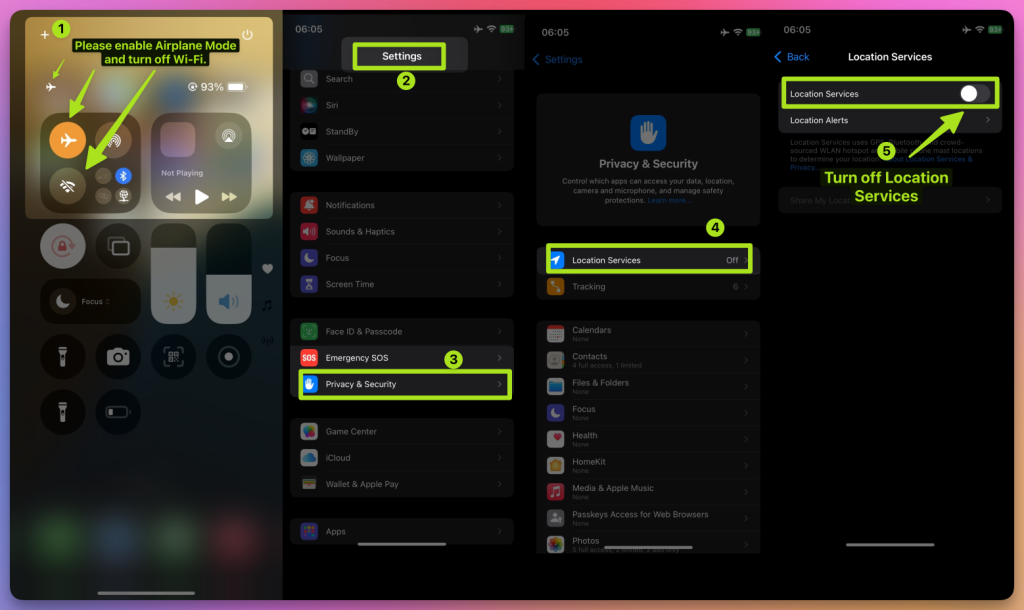
- Wait 10 seconds ⏳. Turn them back on.
11. Configure NextDNS for Teleports Over 15 km
If you’re teleporting more than 15 km, you must configure NextDNS first — otherwise your spoofing may become unstable or fail after a short time.
⚠️ Setup steps:
- 👉 Follow the NextDNS Setup Guide.
- Configure both your iPhone and Windows computer with the provided NextDNS settings.
- Once completed, you can safely teleport long distances without losing location sync.
- In our tests, NextDNS keeps spoofing stable for 10+ hours, even during extended gameplay.
💡 Tip:
- For teleports under 15 km, Steps 1–9 are enough.
- But even for short-distance spoofing, we still recommend enabling NextDNS for extra stability.
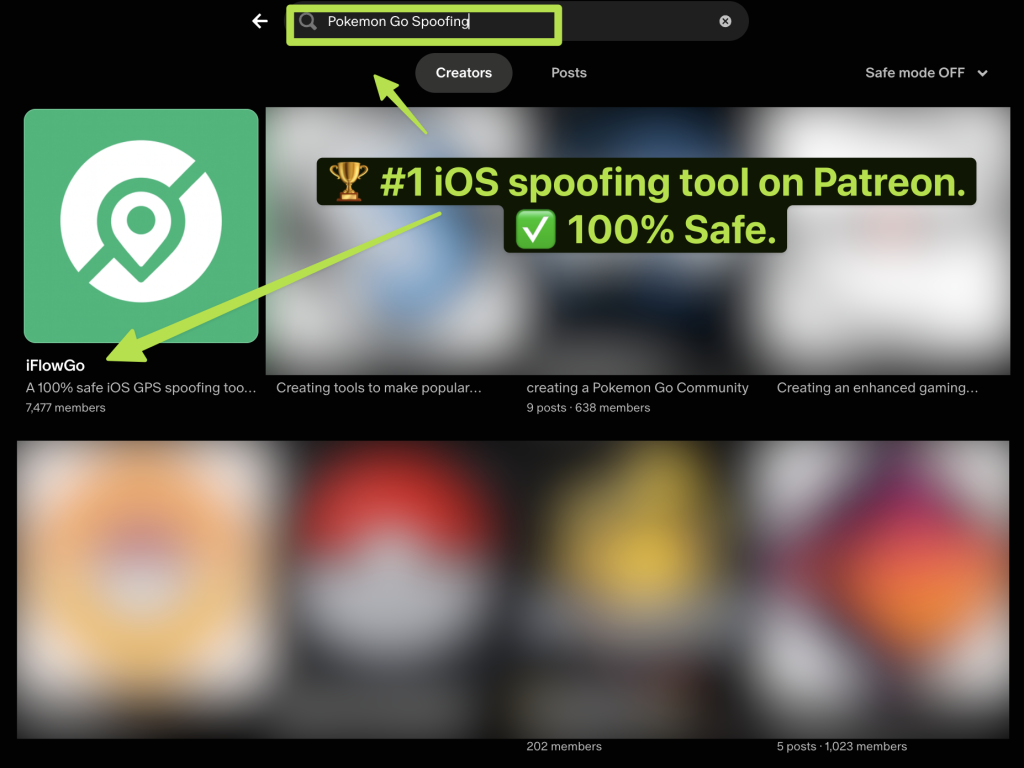
12. All Set! Start Your Virtual Adventure
You’ve successfully set up iFlowGo for the first time ✅. Now you can freely move your location in Pokémon GO, Monster Hunter Now, Snapchat, and more—explore the virtual world your way! 🚀 iFlowGo, Spoof Anywhere, Anytime — Change Your iPhone GPS Instantly. No jailbreak, no cracked apps. 🏆 #1 iOS spoofing tool on Patreon. ✅ 100% Safe.